Table of contents
A well-configured editor is more than a convenience – it’s a significant productivity multiplier. This guide details a battle-tested set of configurations and extensions for Cursor and VS Code, designed to accelerate Python development by minimizing context switching and repetitive tasks. While the specific keybindings provided are ready to use, they are best treated as a template for building your own personalized, high-efficiency workflow.
The approach is built on three pillars of efficiency:
- Keyboard-Centric Customization: Learn your keybindings, personalize them, and minimize mouse usage.
- Intelligent Tooling: Integrate language servers and linters like Pylance and Ruff for smart, automated code quality.
- Integrated Workflow: Bring essential developer tools for version control, CI/CD, and even presentations directly into the editor.
The guide concludes with a link to the complete settings.json file, demonstrating how these pillars come together in a real-world configuration.
In AI-assisted work, topics like MCP servers, agents, .mdc rules naturally come up, but these deserve to be covered in a separate article.
TL;DR: Your Editor Is Either a Weapon or a Bottleneck
- Cursor & VS Code can be more than editors: with the right setup, they become force multipliers.
- Ditch the mouse and go full keyboard with Vim-style modal editing for lightning-fast navigation and command execution.
- Cleaner code, better readability: integrate Pylance and Ruff to refactor, lint, and format Python code automatically.
- Bring GitHub into your editor: review PRs, check CI/CD runs, and manage issues without switching tabs.
- Make your setup personal and powerful: with custom keybindings, extensions, and ergonomic shortcuts that fit your workflow, not someone else’s.
- Built for real-world devs: especially Python, AI, and full-stack engineers tired of wasting time on repetitive tasks.
Pillar 1: Keyboard-Centric Customization
Constantly switching between the keyboard and mouse is a primary source of inefficiency and can contribute to repetitive wrist strain. A core principle of a productive setup is to create a keyboard-first environment where nearly every action, from code manipulation to UI navigation, can be performed without leaving the home row.
A powerful way to achieve this is by customizing your keybindings. For example, the Vim extension enables modal editing and provides a highly configurable leader key. Instead of using awkward shortcuts like Ctrl+Shift+P, a leader key (often mapped to the accessible spacebar) allows you to create simple, sequential key presses for complex actions.
Note: All of the following code snippets belong in your settings.json file. You can open this file by running the Preferences: Open User Settings (JSON) command from the Command Palette (Ctrl+Shift+P or Cmd+Shift+P). For more details, refer to the official documentation.
The following table showcases a set of custom keybindings designed to unify navigation across the entire editor UI, demonstrating the power of a keyboard-centric approach.
| File & Editor | Shortcut (examples) | Context / Notes |
|---|---|---|
| Open File Picker | <leader> o | Quickly search for and open any file in the workspace. |
| Toggle Last Two Files | <leader><leader> | Instantly switch between the two most recently viewed files. |
| Previous / Next Editor Tab | Shift+h / Shift+l | Navigate through open tabs in the current editor group. |
| Focus Editor Group 1 / 2 | <leader> 1 / <leader> 2 | Switch focus between split editor panes. |
| Reveal File in Explorer | <leader> e | Highlights the current file in the workspace’s file tree. |
| Code & Symbols | Shortcut | Context / Notes |
|---|---|---|
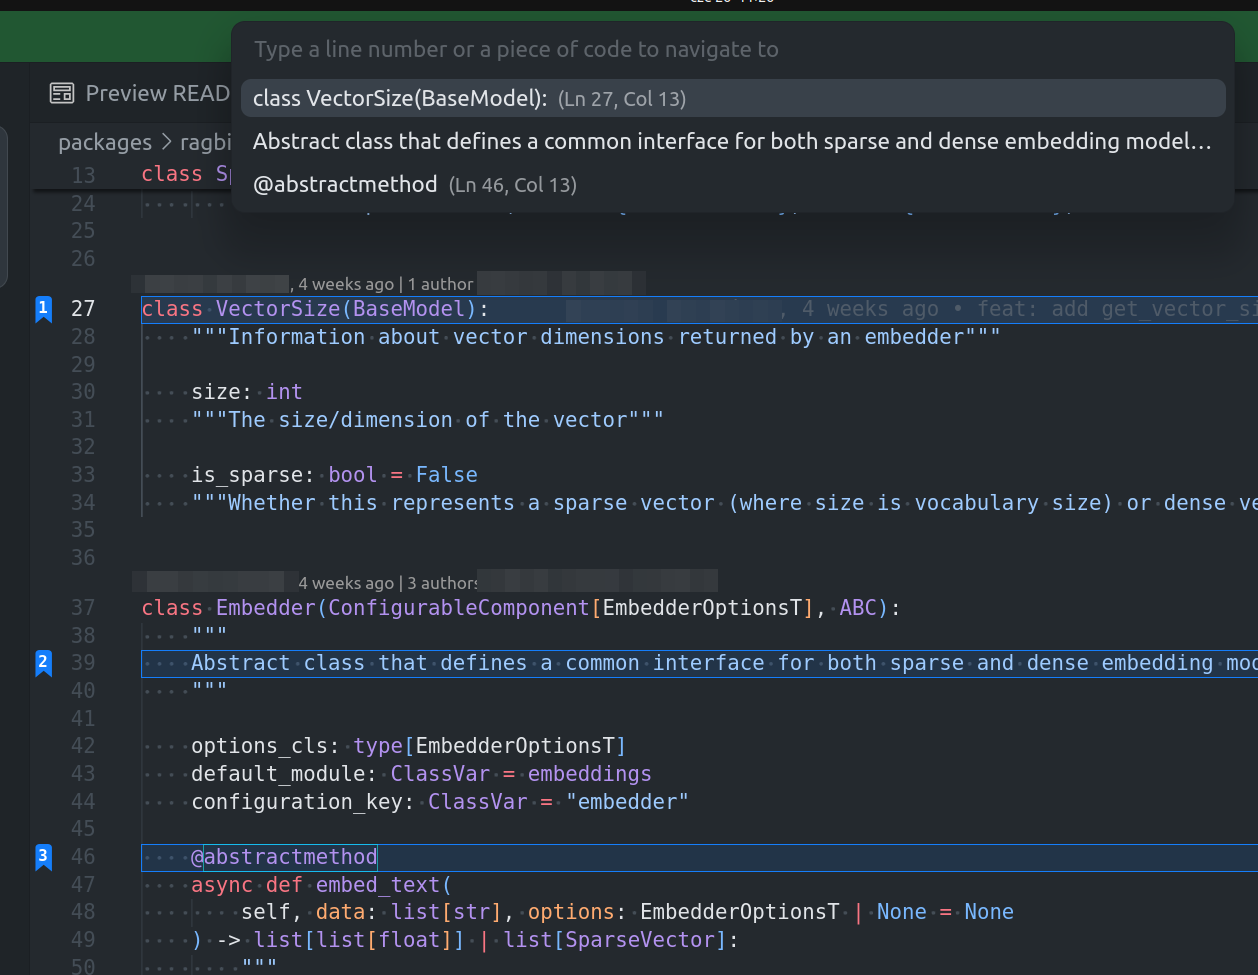
| Go to Definition | gd | Jump to the source definition of a class, function, or variable. |
| Navigate Location History | Alt+h / Alt+l | Move backward and forward through your cursor’s previous locations. |
| Find Symbol in File | <leader> s | Search for a symbol within the currently active file. |
| Find Symbol in Workspace | <leader> t | Search for a symbol across all files in the project. |
| Cursor AI Integration | Shortcut | Context / Notes |
|---|---|---|
| Focus Inline Chat | <leader> i | Launch the AI chat interface directly within the editor pane. |
| Show Chat History | <leader> h | View a history of your conversations with the AI. |
Pillar 2: Intelligent Tooling for Code Quality (Python)
A smart editor actively assists in writing clean, correct, and maintainable code. This is achieved by integrating powerful language servers and high-performance linters.
Pylance: Enabling Intelligent, Type-Aware Refactoring
For Python developers, the default refactoring capabilities in VS Code can feel inadequate. The standard Jedi language server, while functional, often lacks robust, type-aware intelligence. This is overcome by switching to the Pylance language server.
// In settings.json
“python.languageServer”: “Pylance”,
This single change unlocks powerful, project-wide refactoring. For example, a leader key shortcut can trigger a safe, type-aware rename operation across all files.
// In settings.json, inside “vim.normalModeKeyBindingsNonRecursive”
{
“before”: [ “<leader>”, “q” ],
“commands”: [ “editor.action.rename” ]
}
Ruff: High-Performance Linting and Formatting
Within the Python ecosystem, Ruff has become the industry standard for code linting and formatting. Implemented in Rust, it is orders of magnitude faster than its predecessors. By configuring it to operate on every save, code quality is maintained automatically.
// In settings.json
“[python]”: {
“editor.defaultFormatter”: “charliermarsh.ruff”,
“editor.codeActionsOnSave”: {
“source.organizeImports”: “explicit”,
“source.fixAll”: “explicit”
}
}
Pillar 3: An Integrated Workflow with Extensions
Bringing external tools directly into the editor is the final pillar of peak productivity. This minimizes context switching and keeps the entire development loop within a single, unified interface.
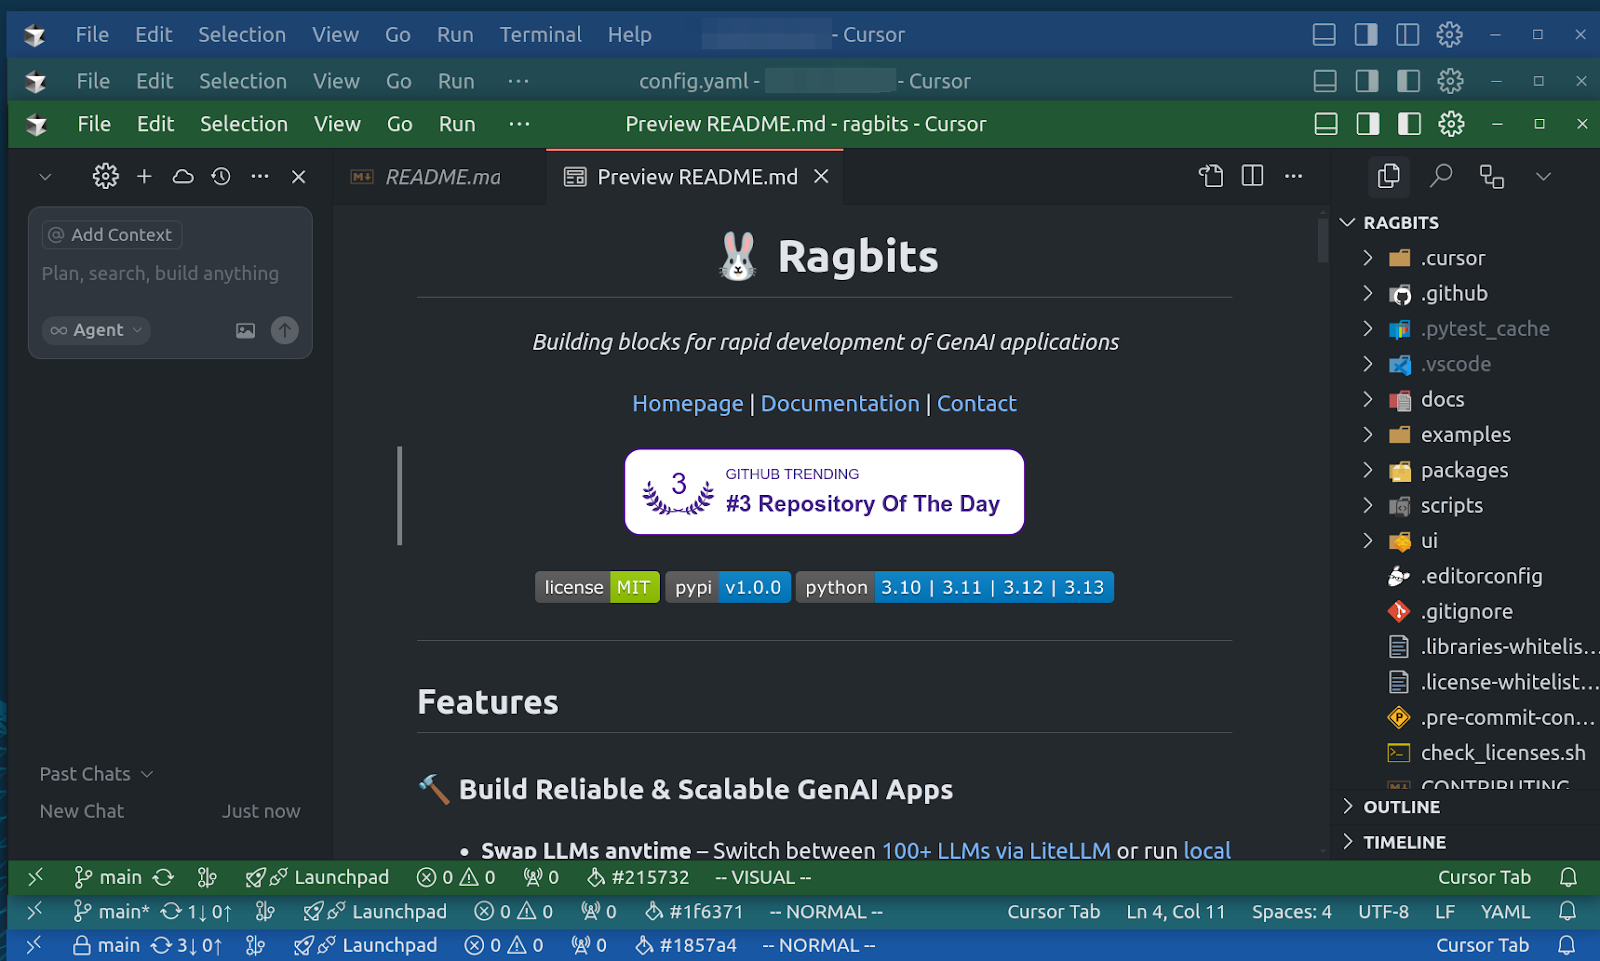
- Source Control (GitHub): The official GitHub Pull Requests and Issues and GitHub Actions extensions bring the full power of GitHub into the editor. Review pull requests, read and write comments, and inspect CI/CD logs without leaving your workspace. Custom keybindings can be set up to quickly focus these views.
// In settings.json, inside “vim.normalModeKeyBindingsNonRecursive”
{
“before”: [ “<leader>”, “g”, “p”, “r” ],
“commands”: [ “pr:github.focus” ]
},
{
“before”: [ “<leader>”, “g”, “a” ],
“commands”: [
“github-actions.explorer.current-branch.refresh”,
“github-actions.current-branch.focus”
]
}
- Code Navigation (Numbered Bookmarks): The Numbered Bookmarks extension is invaluable for navigating large codebases. The keybindings are fully customizable; for instance, m + number can set a bookmark, and , + number can jump to it. For team-based projects, enabling numberedBookmarks.saveBookmarksInProject: true in settings.json shares bookmarks across the repository.
- UI Enhancements (Error Lens & Peacock): Error Lens enhances code diagnostics by rendering errors and warnings directly inline. For developers managing multiple projects, Peacock is an essential tool that color-codes the title bar of each VS Code window, providing instant visual context.

- Presentations (Marp & Screencast Mode): Technical presentations can be authored directly in Markdown using the Marp extension. For live demos, the built-in Screencast Mode is invaluable. It can be enabled from the Command Palette (Ctrl+Shift+P or Cmd+Shift+P) by searching for “Toggle Screencast Mode”. This displays keystrokes and mouse clicks directly on the screen, making it easy for an audience to follow along.
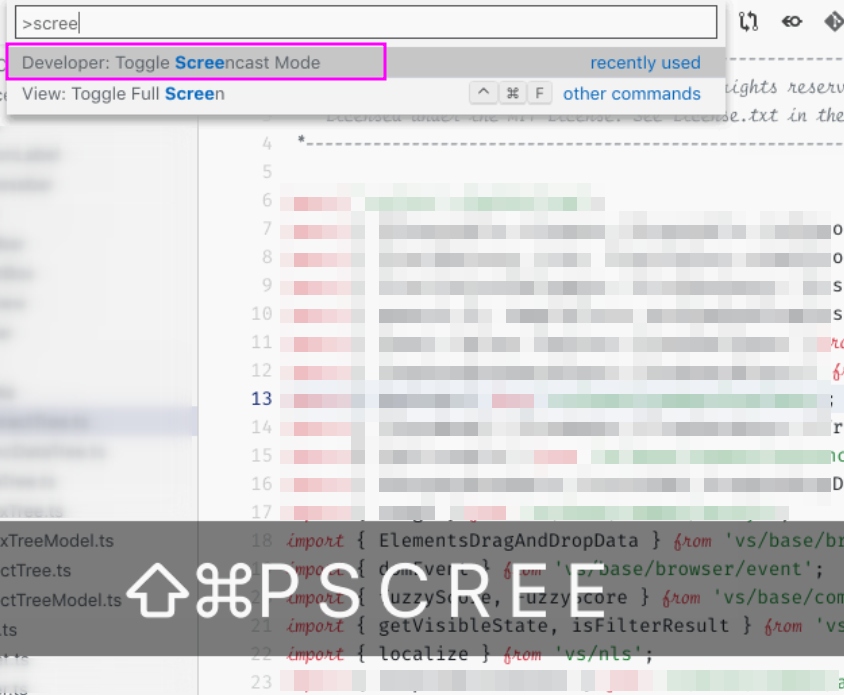
A screenshot showing Screencast Mode in action, with keystrokes appearing at the bottom of the editor.
Summary of Recommended Extensions
For convenience, here is a complete list of the Visual Studio Code extensions mentioned in this guide, with links to the marketplace.
- Vim: Enables powerful, keyboard-centric modal editing for faster code navigation and manipulation.
- Pylance: A high-performance language server for Python that provides intelligent, type-aware refactoring.
- Ruff: An extremely fast Python linter and code formatter that helps maintain consistent code quality.
- Numbered Bookmarks: Allows you to set and quickly jump between persistent bookmarks across all files in your project.
- Error Lens: Improves code diagnostics by displaying errors and warnings directly inline with your code.
- Peacock: Subtly changes the color of your editor, helping you distinguish between multiple project windows.
- Marp for VS Code: A powerful tool for creating and exporting presentation slides directly from Markdown files.
- GitHub Pull Requests and Issues: Integrates GitHub’s code review and issue tracking workflows directly into the editor.
- GitHub Actions: Allows you to monitor and manage your CI/CD pipelines from within VS Code.
Conclusion: Build a Developer Workflow That Works for You
Cursor and VS Code, when configured intentionally, become more than tools, they become your edge. This setup represents a highly refined development environment, but the underlying philosophy is more important than the specific tools: continuously identify and eliminate friction points in the daily workflow.
Use this setup as a foundation, then shape it to fit your team, your tech stack, and your tempo.
For those interested in a complete reference, the full configuration is available here: settings.json.
Want to scale this across your engineering team? Talk to us, we help teams worldwide implement AI-native developer workflows.
Table of contents